Cron Jobs in Next.js App Using Convex

Learn about cron jobs and how to integrate them into modern Next.js applications using Convex, a backend-as-a-service platform.
Have you ever found yourself in a situation where you need to run a task or a function in your web application recurrently? You may want to send reminder email notifications to users of your application every morning, clear out old log files at regular intervals, update the database daily with the latest foreign exchange rates, or whatever repetitive task it may be.
Although these tasks are pretty straightforward, they can be tedious and error-prone when done manually. And let’s be realistic—nobody wants to wake up at midnight to run a script or set daily alarms for such monotonous operational tasks. Hence, there is a need for some form of automation.
This is where cron jobs come in. Cron jobs are tasks or operations scheduled to run repeatedly at a specified time or interval without human intervention. Whether you want to back up a database daily or run a script every hour, cron jobs can handle such operations for you.
In this article, we’ll look at cron jobs and how they can be integrated into modern Next.js applications using Convex, a full-fledged backend-as-a-service platform. We’ll explore the steps to setting up Convex, building the demo, creating a cron job, and managing created cron jobs with Convex.
An Overview of Cron Jobs
Cron jobs originated initially from Unix-based operating systems but have since been widely adopted in various environments, including modern web applications. It was coined from the Greek word “chronos,” which means time, and the English word “job,” which refers to a specific task. A cron job is a scheduled task, operation or function that runs automatically at specified intervals or times.
In Unix-based systems, cron jobs are managed by a daemon called cron, which runs in the background continuously and executes tasks defined in a configuration file called the crontab. The crontab file specifies the schedule and commands for each task, using a concise syntax to define the schedule (e.g., every minute, hourly, daily or on specific days).
Modern applications and frameworks, like Next.js, combined with backend solutions such as Convex, extend this concept to serverless environments. Here, cron jobs allow developers to schedule tasks in a scalable and efficient way, leveraging cloud infrastructure instead of relying on a traditional server-based setup.
Here are some common use cases for cron jobs in a Next.js application:
- Sending automated emails and notifications
- Health checks performance
- Data synchronization with external API
- Analytics and reporting
- Database maintenance
What Is Convex?
Convex is a backend-as-a-service platform designed to abstract the development and integration of backend implementations. Unlike other platforms, it does not focus solely on database management. Instead, it strives to redefine what backend abstraction should be.
It provides a unified platform that empowers developers with a fully integrated backend that combines OAuth integration, real-time data synchronization, serverless execution, action scheduling/cron and other infrastructural complexities.
Setting up a Next.js Application with Convex
In this section, we will set up a basic Next.js application with Convex to demonstrate the integration of cron jobs. We will keep the setup straightforward, by skipping over the internals and details of Convex. The primary focus of this article is using Convex to implement cron jobs in a Next.js application.
First, create a Convex account with your GitHub credentials.
The Convex team provides a predefined command that bootstraps the whole setup for Next.js. This command eliminates the hassle of manually configuring the whole setup from scratch.
Run the command below in your terminal to quickly get started with Convex and Next.js:
Enter your preferred name for the demo project and select options for the other resulting prompts, as shown below.

Here, we selected the options to use Next.js’s App Router setup and not have any authentication configuration predefined.
Run the command below to navigate into the newly created project folder:
Then, run this command in your terminal to complete the setup
This spins up the Convex development environment for backend project creation, the Next.js local project, and their linking and updates pipeline.
On the resulting prompt, enter your device name (you can go with the default) and select the option to open the browser for verification.
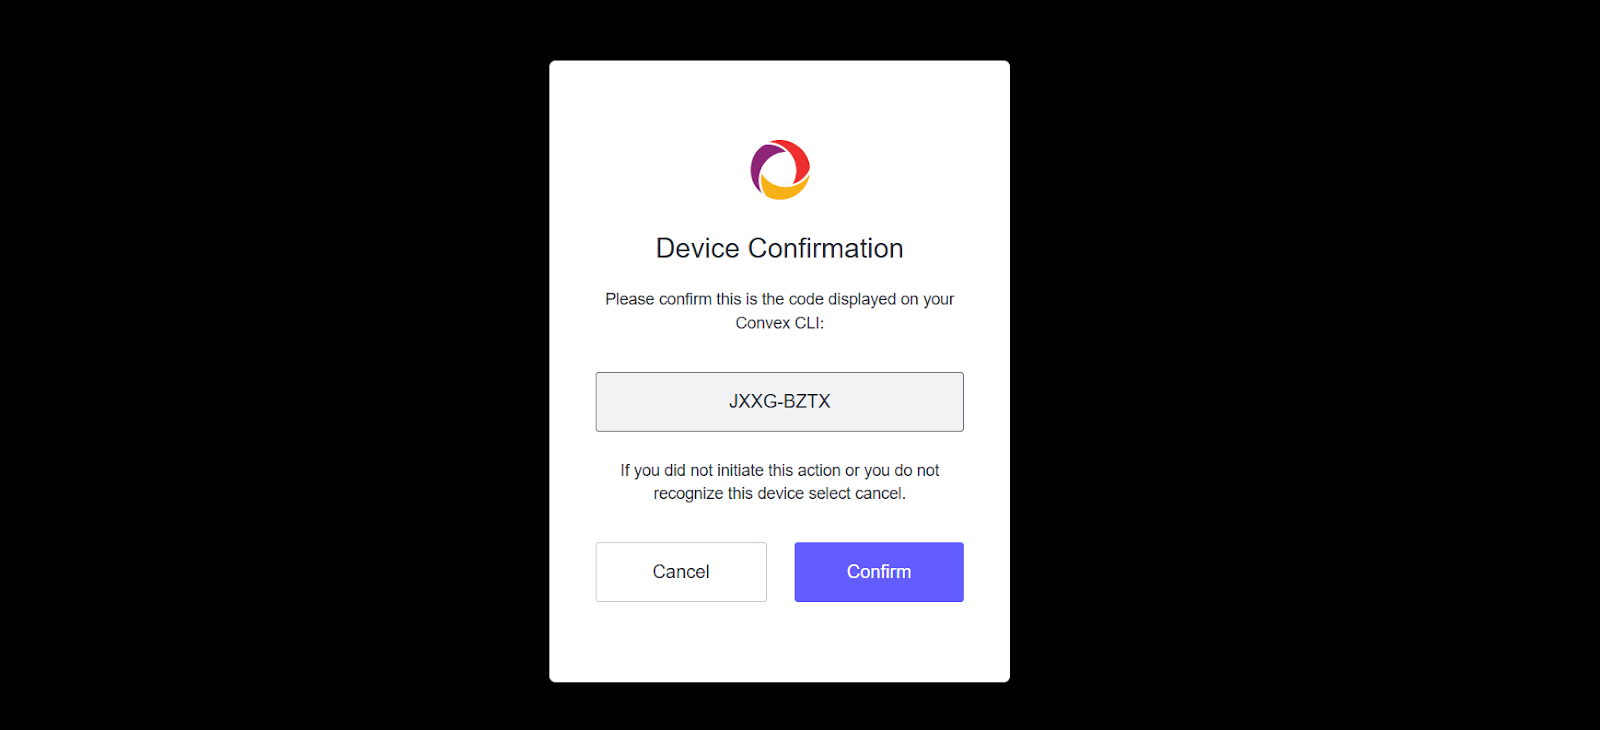
Check that the code from the opened web browser page corresponds with what is on the command line, and click on Confirm to continue.
Next, accept the terms and conditions on the terminal and enter the project name as shown below:
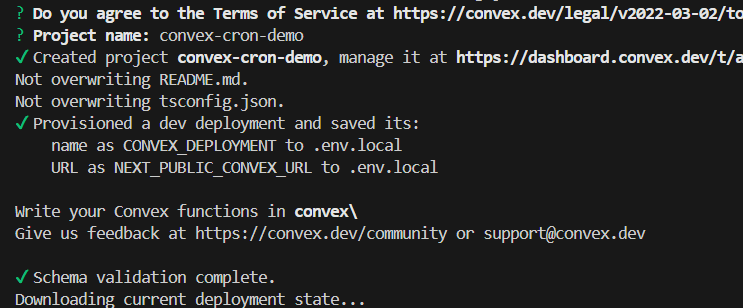
Once the application runs successfully, you can preview the demo at http://localhost:3000 in your browser.

The project should now also be visible on the Convex dashboard.
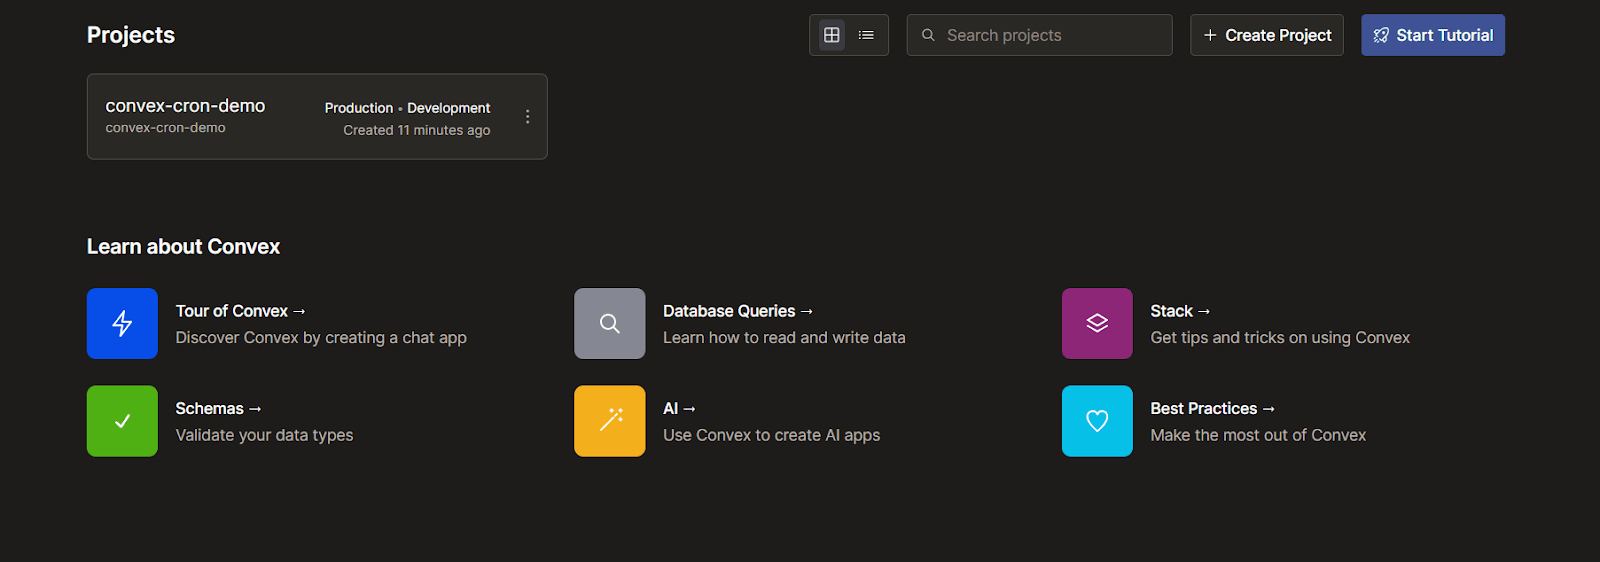
We’ve completed the setup process. In the next section, we’ll start with cron jobs using Convex.
Cron Jobs with Convex
When working with Convex, cron jobs are defined in the /convex folder. If you are familiar with Convex, you should know this folder. However, if you’re new here, the /convex folder serves as the central hub for managing the server-side logic and configuration of the application. This folder is where we have to define the application’s database interactions, including queries, mutations, actions and cron jobs.
To create cron jobs with Convex in a Next.js app, first import the cronJobs function from the Convex server package and invoke it as shown below:
In the code above, cronJobs is a predefined function provided by Convex that creates an instance of the crons class, which can be used to register and schedule cron jobs in the application.
We can call a number of methods on the created instance to register a cron job. These methods take a unique identifier for the cron job, schedule definition and either an internal or a public function as arguments, respectively.
Let’s look at the types of methods in the following subsections.
Interval Schedule
To create a cron job that runs at specific time intervals, we can call an interval() method on the created cron instance. The assigned internal or public function runs immediately when deployed and then at the specified seconds, minutes or hours.
Here is what the syntax looks like:
Here, we can see the definition of a cron job that runs a public function to log something to the console every five minutes.
The time definition can also be in seconds or hours rather than minutes, as used in the above code snippet. That means we can also have something like this:
The function gets executed every 15 seconds instead.
Custom Schedule
As opposed to the previous approach of creating cron jobs, there is also a cron() method that can be called on the created cron instance to register cron jobs with a custom schedule time definition and also run that function at a particular time every day.
The cron() method enables the traditional way of scheduling cron jobs, which uses a string of five strings separated by spaces.

In addition, the definition also relies on some operators. Here are a few of them:
- Asterisk ( * ): Indicates all possible values in a field.
- Comma ( , ): Used for listing multiple values in a field.
- Hypen ( - ): Defines a range of values in a field.
- Forward slash ( / ): Divides a value in a field.
Here is a code snippet using the cron custom scheduling approach:
The code above defines the cron job to run the function at 12 noon daily. It is also important to note that time zones are important here, and the default time zone is UTC.
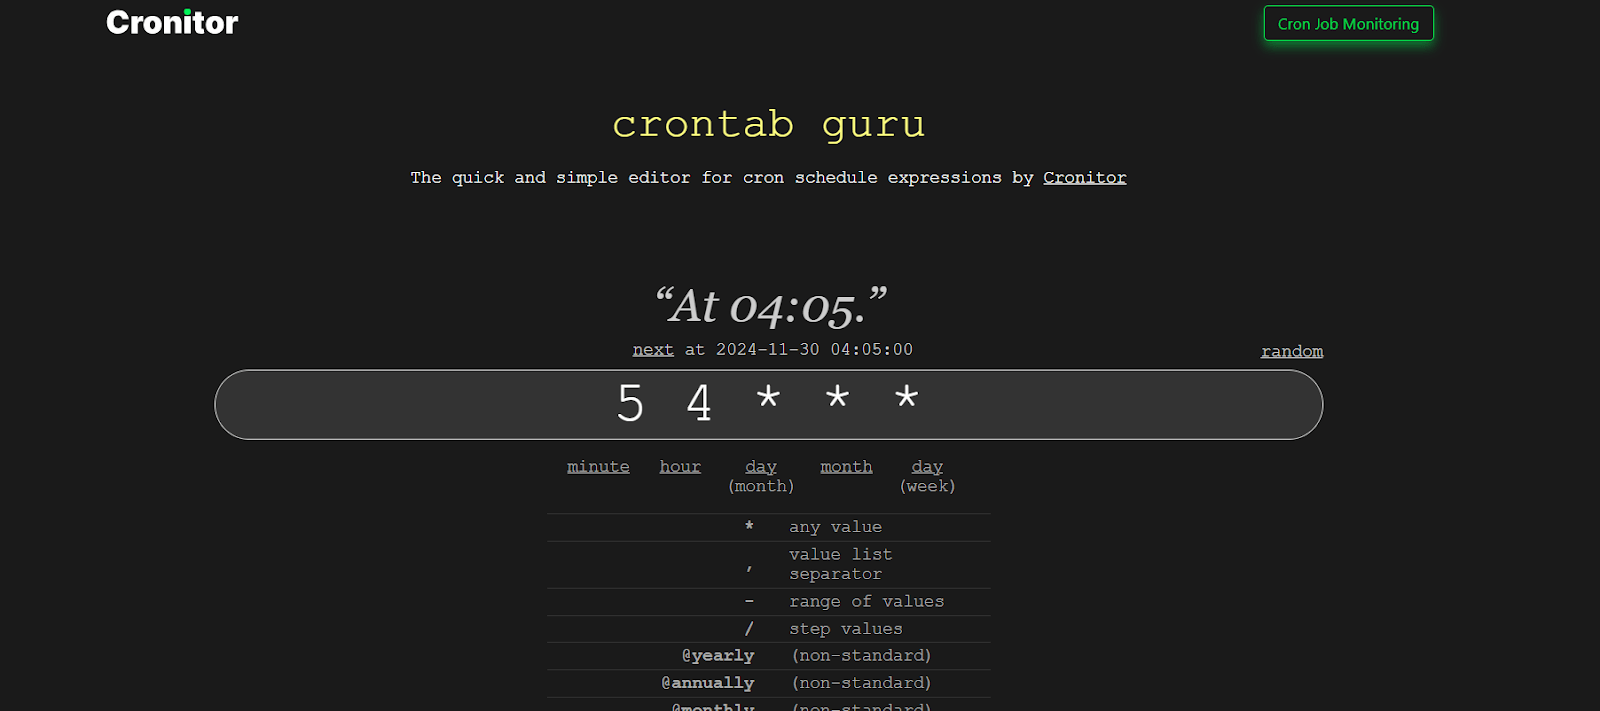
Check out Crontab Guru if you want to play around with different values of the cron syntax and maybe gain a better understanding of the definitions.
Named Schedules
Convex provides a set of clear and human-friendly alternatives to the interval and custom or traditional cron job scheduling approach. Let’s take a look at them individually.
- crons.hourly(): Schedules a task to run once every hour at a specified minute within that particular hour.
- crons.daily(): Schedules a task to run once every day at a defined hour and minute.
- crons.weekly(): Schedules a task to run once a week on a specified day, hour and minute.
- crons.monthly(): Schedules a task to run once a month on a specified day, hour and minute.
Also, note that some months have fewer days than others. For example, a function scheduled to run on the 31 will not run in April, and so on.
Demo Implementation
Now that we have looked at cron jobs and the different approaches to setting them up with Convex in a Next.js application, let’s define one or two in our demo application. First, we can create an internal function which will then be triggered from the created cron job.
In the demo application, create a logs.ts file in the /convex folder and add the following to it:
Here, we created an internalMutation that logs the current date to the console when triggered. Note that when working with cron jobs, we are not limited to internalMutation functions alone. We can also work with actions and the traditional mutation function.
Next, to define the cron job, create a crons.ts file in the /convex folder and add the following to it:
In the code above, we imported and invoked the cronJobs function to create an instance of the cron class. Then, we defined a cron job that runs the internalMutation function created earlier every two minutes.
To know if this works, go back to the Convex dashboard in the browser and open the current project. On the project’s console, click Logs on the sidebar to view the Convex backend logs.

You should see the current date logged at intervals from the registered cron job.
Remember that cron jobs are not limited to running basic tasks like logging something to the console like we’ve just created. We can use them to handle more complex and practical operations, such as sending automated emails, running scheduled database backups or cleanups, syncing application data with third-party APIs and much more.
Let’s create a second cron job that sends a simple email with Resend.
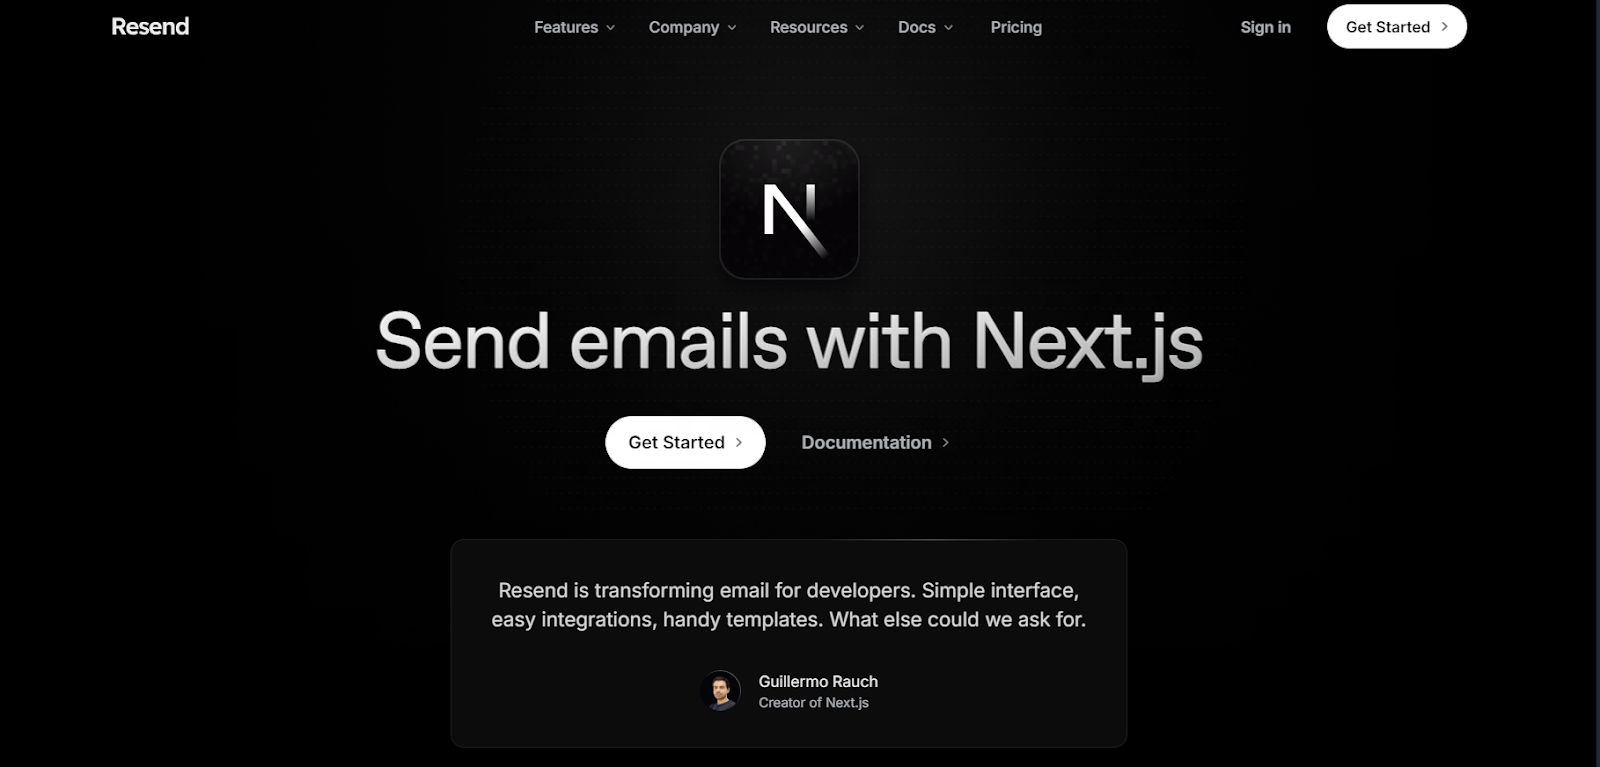
Then, click Get Started to create an account or Sign in if you already have one. Next, follow the quick guide in the documentation for Next.js integration to create an API key and verify your domain (this can be skipped because there is a test domain that can be used for demo purposes).
Open a new terminal in the demo application and run the code below to install the Resend Node.js SDK:
This exposes Resend core functionalities to the application. We also need to add our Resend API key as an environment variable in the Convex project’s environment configuration.
Next, create a sendMail.ts file in the /convex folder and add the following to it:
In the code above, we created a sendMail action instead of the internalMutation used previously. Then, we defined the action to configure the Resend instance and send a simple text to an email.
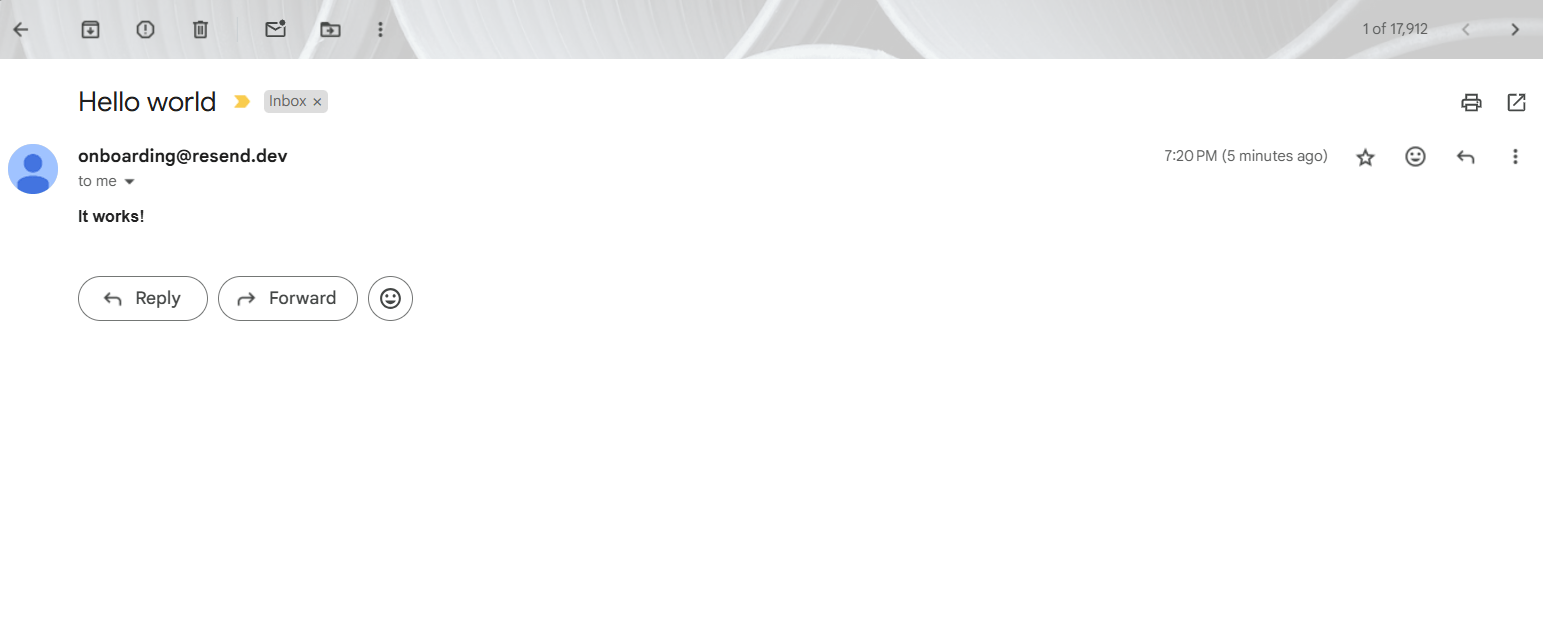
Note that in this setup, we use the test Resend email domain, onboarding@resend.dev. Therefore, emails can only be sent to the email used to create the account. However, to send emails to different email addresses, you need to verify your email domain and use it in the code.
Lastly, we can create a new cron job that triggers the action. Update the /convex/crons.ts file as shown below:
Here, we added an action to the cron jobs definitions that sends a mail every five hours.
Because of how the interval() method on the cron instance works, it immediately runs the cron job and then at the specified interval. You should already see the sent mail in your inbox.
Managing Cron Jobs in Convex
Once the cron jobs are set up, the Convex dashboard provides a way to manage them. We can view a list of all created cron jobs in the application, monitor their execution, test and debug.
To view the cron jobs created in the demo, click Schedules on your Convex dashboard’s sidebar. Then click the Cron Jobs tab on the resulting page to see the two cron jobs we created in the previous section.
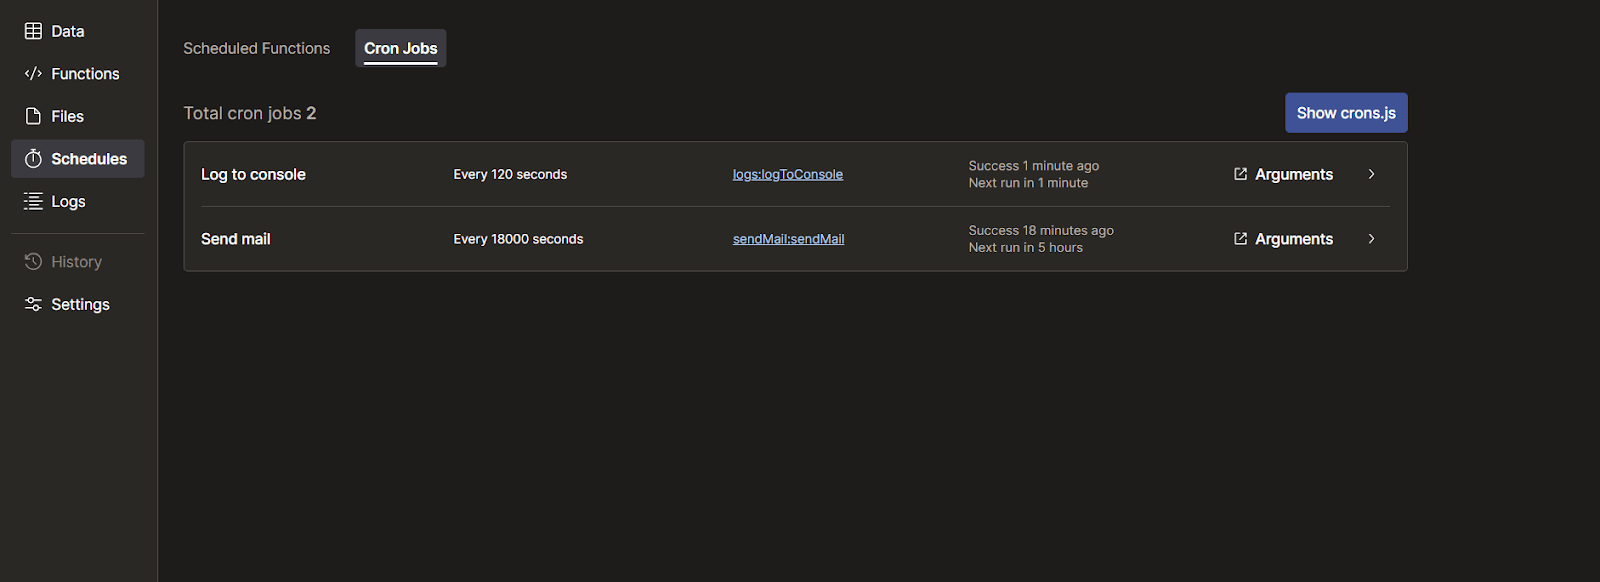
On that page, we can see the name (the unique identifier specified in the code), the schedule and the last execution time of each cron job.
To monitor any cron job, click on it to view its console.
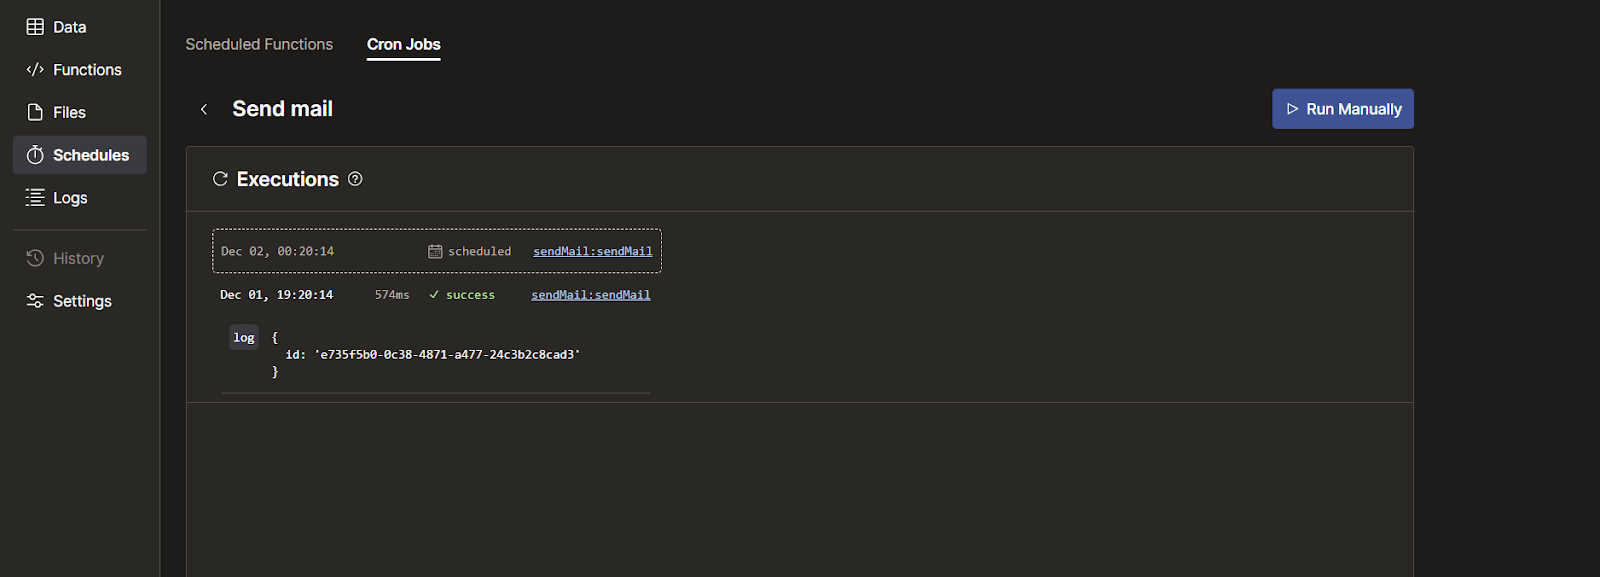
We can also make the cron job run immediately, for test purposes, by clicking on the Run Manually button on the cron job page.
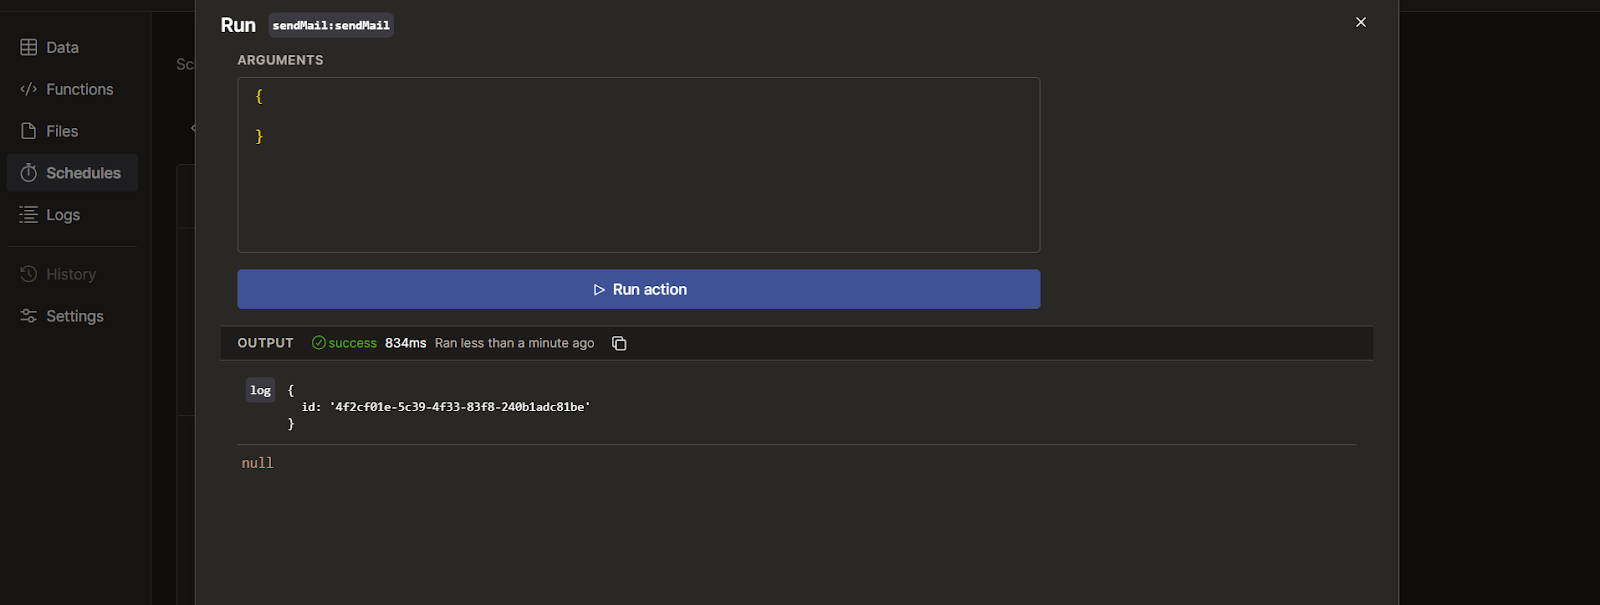
When I clicked the Run Action button, the test email was immediately sent to my inbox. The response can also be seen on this page, and if the action encountered an error, it also becomes visible.
Best Practices
When working with cron jobs with Convex, there are a couple of things to keep in mind. Here are a few of them:
- Implement proper error handling: Wrap the cron logic in a
try-catchblock to handle and log errors properly. - Proper cron job naming: Use unique and descriptive names for the cron jobs to make them easily identifiable in the Convex dashboard and the application codebase.
- Do not overload the server: Schedule tasks responsibly to prevent overlapping or excessive job executions that could strain your server.
- Log meaningful information: For better debugging and monitoring, include detailed logs in the functions that will be triggered by the cron job.
- Do not hardcode sensitive data in cron jobs: Store sensitive data like API keys in Convex environment variables instead of hardcoding them.
Conclusion
Cron jobs are essential for automating repetitive functions and maintaining the smooth operation of modern applications. Convex makes it easy to set up and manage cron jobs in Next.js applications with flexible scheduling approaches and other predefined methods.
This article provides an overview of what cron jobs are, how to set up a Next.js application with Convex, and how to implement cron jobs with Convex. We also looked at the various scheduling approaches and how to manage cron jobs from the Convex dashboard.

Christian Nwamba
Chris Nwamba is a Senior Developer Advocate at AWS focusing on AWS Amplify. He is also a teacher with years of experience building products and communities.

